Turn your ideas into embroidered patches with this detailed Brother PE 770 tutorial from the Never Deny Me channel. It’s a crash course on stabilizing, stitching, trimming, and finishing custom patches at home. Follow along to learn efficient techniques, common pitfalls, and presentation tips straight from the creator’s workflow.
Table of Contents
Introduction to DIY Custom Patches
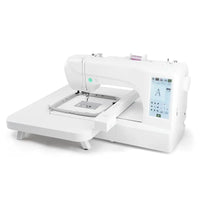
Creating your own patches means full creative control. The Brother PE 770’s accessible interface and dependable 4-inch hoop make it an ideal starting point for custom apparel makers.
Meet Your Instructor and the Brother PE 770
Host Na’e Matthews—aka Never Deny Me—walks through the real production workflow, showing every transition on-screen.

Why Make Your Own Patches?
It’s not just a hobby; for many, custom embroidery supports small brands or side hustles. By controlling color, fabric, and finish, you ensure every piece aligns with your style. It’s also a great entry into embroidery machine artistry.
Essential Tools and Materials
To mirror the tutorial’s process, gather these essentials before stitching: the Brother PE 770, a 4-inch hoop, cutaway stabilizer, black twill fabric, appliqué scissors, and adhesive like Elmer’s Dot Runner.

Choosing the Right Stabilizer and Fabric
Cutaway stabilizer is the backbone of a crisp patch—wrinkle-free and firm. Twill provides durability and resists fraying after trimming. Keep both materials nearby when working with magnetic hoops for brother embroidery machines for smoother workflow integration.
Thread Selection: Embroidery vs. Regular
Embroidery thread—especially poly or rayon—offers shine and strength. Switching between black and gold as in the video brings a luxurious edge.

Specialty Tools: Appliqué Scissors
Their curved edge lets you trim close to stitches without damage. If you’re upgrading tools, look at options designed for precision cutting found alongside embroidery machine hoops.

Setting Up Your Machine and Design
A polished finish starts with digital setup.
Loading Your Digitized File via USB
Insert your USB stick into the side of the machine. Choose your file, confirm size compatibility, and rotate or move it on the screen as needed.

Positioning Your Design for Maximum Efficiency
The creator fits two logo patches in one hoop setup to conserve stabilizer—a move any small business should emulate. This strategy relates closely to efficient use of brother pe800 magnetic hoop configurations for larger designs.

Threading Your Brother PE 770
Following the numbered path, load black thread first. Correct threading prevents tension mishaps later. Always double-check before pressing start.

The Step-by-Step Stitching Process
This is where fabric turns to art. The PE 770 cycles through placement, tack-down, trimming, fill, and border.
The Crucial Placement and Tack-Down Stitches
Run a placement stitch in black to outline your patch area, then smooth the twill fabric across it and start tack-down. These stitches anchor fabric before trimming.


Mastering the Art of Trimming Appliqué
Detach the hoop and use your appliqué scissors to cut near the tack line. Patience equals professional edges. The curved blade prevents nicking the stabilizer.
Layering Colors: Fill, Details, and Border
The black fill step adds density. After that, swap in gold thread for text or logos, then return to black for the satin edge. Timely thread changes make the design vivid and dimensional.

This layered color method can later translate to larger machines like the brother pr1055x if you expand your setup.
Finishing and Troubleshooting
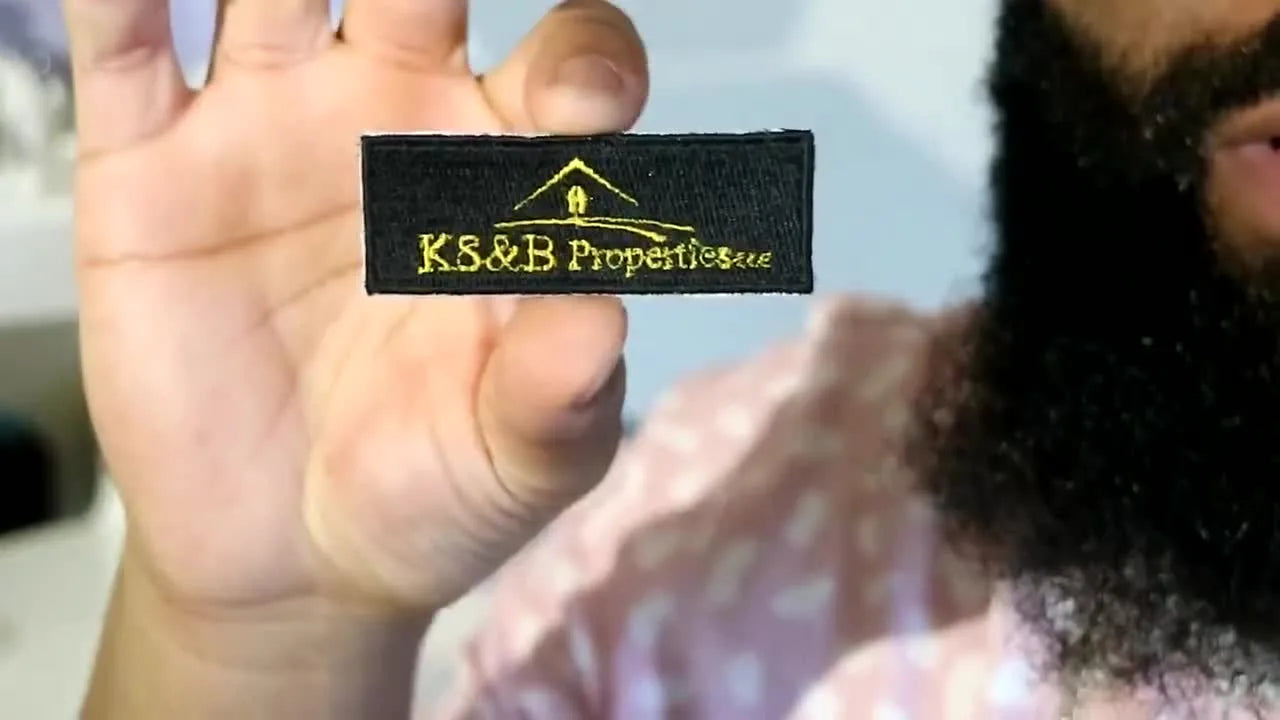
Once the final satin border stitches complete, remove the hoop. The patch will look perfectly crisp on the stabilizer sheet.

How to Cleanly Cut Out Your Finished Patch
Use sharp scissors to cut around your patch with a tiny stabilizer border. This ensures the outer threads remain intact.

Spotting and Avoiding Common Errors (Like Bobbin Pull-up)
If you notice dark thread bleeding into lighter color details, your top tension is too loose or the fabric wasn’t taut enough. One viewer even pointed out that unhooped fabric can cause bobbin show-through—proof of the importance of tension balance.

Tips for Consistent, High-Quality Results
Always inspect your hoop tension, maintain your needles, and test short runs on scrap fabric before full embroidery. Using stable accessories such as magnetic hoop for brother pe770 can keep slick or thick fabrics flat while reducing re-hooping strain.
Professional Packaging for Your Patches
It’s not finished until it’s presented beautifully.

Creating a Simple and Effective Backing Card
Cut cardstock to match your patch layout. Apply adhesive using a dot runner, sticking each piece neatly on the card.

Using Adhesive and Clear Sleeves for Presentation
Slide the finished cards into transparent sleeves; they protect from dust while showing off your design. This extra step transforms your finished patches into shelf-ready merchandise.

From the Comments
Many viewers praised the clear step-by-step pacing and the two-at-once patch setup. Beginners appreciated learning to reposition designs on-screen—a small trick that saves fabric. One frequent question was about software for digitizing; while the creator used pre-made files, exploring digitizing is a logical next chapter for enthusiasts.
Community Note: Several embroiderers shared love for related accessories, mentioning that pairing the PE 770 with dime magnetic hoops or even snap hoop for brother embroidery machine systems can help future projects stay secure.
Final Thoughts
This tutorial captures more than technique; it’s about efficiency and creative independence. The Brother PE 770 remains a favorite for many because it turns personal design files into tangible art quickly.
Whether you’re experimenting with streetwear patches, branding for clients, or learning the embroidery workflow, this guide proves how satisfying a home setup can be—every stitch a small statement of craftsmanship.