This guide distills the Embroidery Legacy tutorial on how to embroider 3D puff onto a hat using a multi-needle machine. You'll learn how to select foam and stabilizer, digitize properly, hoop a cap, and master finishing techniques for a professional raised design.
Table of Contents
- Introduction: Elevate Your Hats with 3D Puff Embroidery
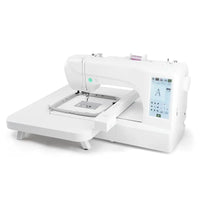
- Step 1: Gathering Your Essential Tools and Materials
- Step 2: Digital Prep Work for Perfect Puff
- Step 3: Mastering the Art of Hooping a Cap
- Step 4: Setting Up Your Embroidery Machine
- Step 5: The Embroidery Process from Start to Finish
- Step 6: The Finishing Touches for a Professional Look
Introduction: Elevate Your Hats with 3D Puff Embroidery
3D puff instantly adds structure and impact to any cap design. By layering stitches over special foam, you give depth where ordinary embroidery lies flat.

It takes patience and precision, but once you master the rhythm, each project becomes faster. Seasoned embroiderers often use magnetic embroidery hoops for tajima embroidery machines for stability when switching caps.
Step 1: Gathering Your Essential Tools and Materials
Everything begins with careful preparation.

Choosing the Right Hat and Stabilizer
A six‑panel structured cap works best. Pair it with tearaway stabilizer—it lends support but tears cleanly afterwards.

If you work often with hats on different rigs, consider tajima hat hoops for consistent tension.
The Secret Ingredient: 3mm Puffy Foam
This foam (around 3 mm thick) sits beneath your top stitch to form the raised surface.

Always cut slightly larger than your design to ensure full coverage. Whether you’re on a commercial Tajima or an entry‑level setup like a brother embroidery machine, the foam principle remains identical.
Why You Need a Special 3D Digitized File
Standard files flatten designs. Puffy embroidery requires low‑density base layers and high‑density satin covers. The video features a downloadable “Athletic Foam” stitch font made for foam. If you use other machines such as a barudan embroidery machine hoops system, make sure your file type matches your brand’s format.
Step 2: Digital Prep Work for Perfect Puff
With materials ready, move to software.

Arranging Your Design in Software
Import each letter, align, and space them evenly. Multi‑needle software—here, Tajima Writer Plus—lets you sequence colors efficiently.
The Importance of Re‑Sequencing Your Colors
Run base layers first, pause to add foam, then finish puff stitches. Saving this sequencing ensures your machine stops automatically before foam placement. This workflow also transfers well if you later move designs to other heads such as a mighty hoops for barudan configuration.
Step 3: Mastering the Art of Hooping a Cap
Proper hooping is half the battle in embroidery.

Using a Hat Hooping Station
Use an adjustable hooping station so the hat face lies flat and taut. Secure with the front clamp.
Achieving Perfect Alignment and Tension
Align the hat’s center seam with the guide mark. Slightly tilt left before locking for natural curvature.

Each brand’s fixture feels different—those running mighty hoops for tajima may notice magnetic hold makes this step simpler.
Step 4: Setting Up Your Embroidery Machine
Now move to the Tajima SAI console.

Loading the Hat and Design
Insert the hooped cap onto the driver frame until it clicks on all three latches. Then load your digitized file from USB.

Critical Settings: Rotation and Origin Point
Rotate the entire design 180 degrees; this compensates for the hat facing away from you on the machine.

Set your origin to bottom center—the cursor crosshair should align there. Users of other equipment such as a brother pr1055x can mirror this principle within their setup menus.
Pro Tip: Bend the Brim to Avoid Errors
Push the brim gently forward before hooping; it reduces fabric drag under the needle.
For repeat runs, fixtures like hoopmaster hooping station help standardize placement.
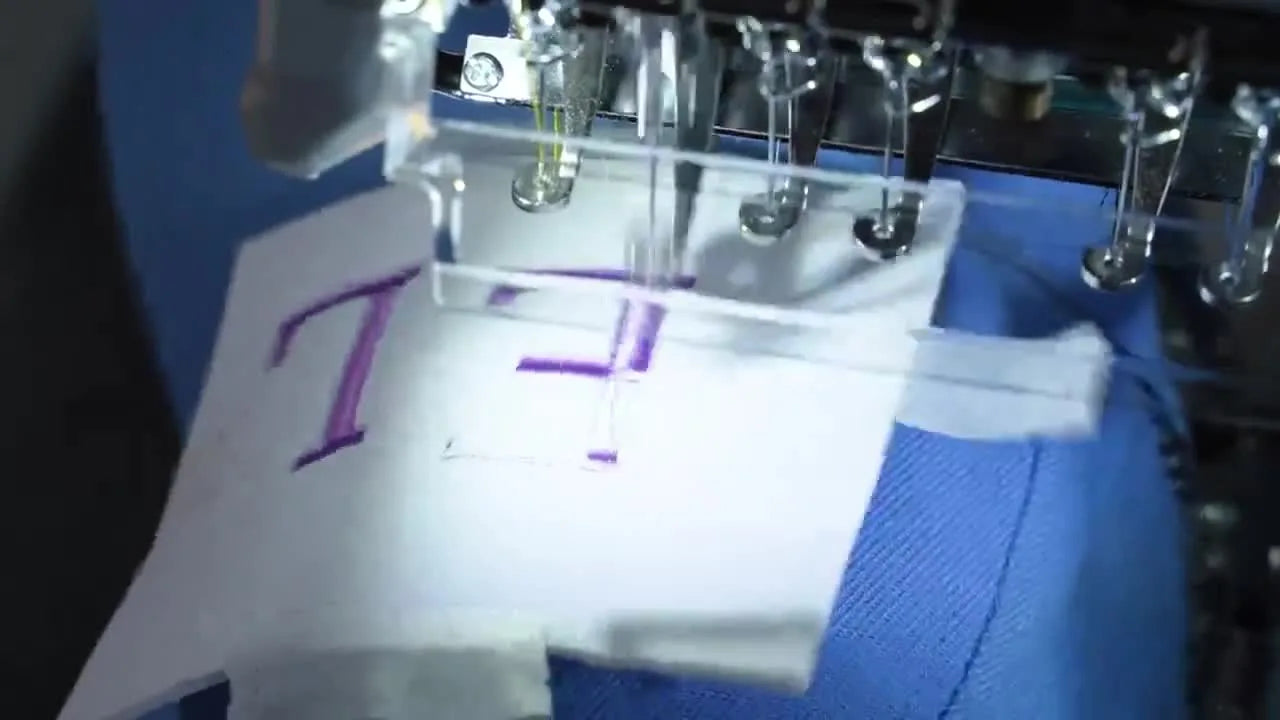
Step 5: The Embroidery Process from Start to Finish
Time to stitch.

Stitching the Base Layer
Press start and complete the white outline. This base acts as both visual guide and foundation.
Applying and Securing the Puffy Foam
Cut your foam to size, lay it over the outline, and tape edges firmly.


Prevent shifting—especially critical if running high speeds.
Running the Final Satin Stitches
Resume stitching. Dense satin passes lock over the foam, perforating as they go.

The result is magic: dimension and strength. Some operators using specialty accessories like magnetic hooping stations find consistent hold even during heavy puff stitching.
Step 6: The Finishing Touches for a Professional Look
The reveal comes when you clean the piece.

Removing Excess Foam
After stitching, pull away extra foam—it tears neatly along the stitch line.
Using Heat to Clean Up the Edges
A touch of heat from a hair dryer or gun makes stray foam recede. Keep motion steady to avoid scorching.

Operators of compact rigs such as a mighty hoop attachment should ensure clearance between nozzle and frame.
Final Cleanup and Inspection
Detach the hat, peel away stabilizer, and steam the brim back into shape.

Minimal residue means perfect puff depth and crisp contours every time.
Quick Check
- 3 mm puffy foam fully stitched and covered
- Stabilizer removed with no thread distortion
- Brim reshaped and cool to the touch
Watch Out
Avoid over‑heating; threads can gloss or fuse if exposed too long.
Pro Tip
When production‑testing new designs, sample on scrap hats first to verify foam thickness and stitch density.
From the Tutorial
The creator emphasizes that correct sequencing and foam placement yield professional‑looking results even on compact multi‑needle machines.
Whether you’re producing team hats, startups’ merch, or boutique one‑offs, mastering puff embroidery brings your work from flat to unforgettable. Once confident, you can adapt the same process on machines using magnetic hoops for brother embroidery machines or explore upgrades like mighty hoops for brother pr1055x for larger designs.
Let the textured letters pop—and enjoy that raised‑thread satisfaction every time your hats come off the frame.