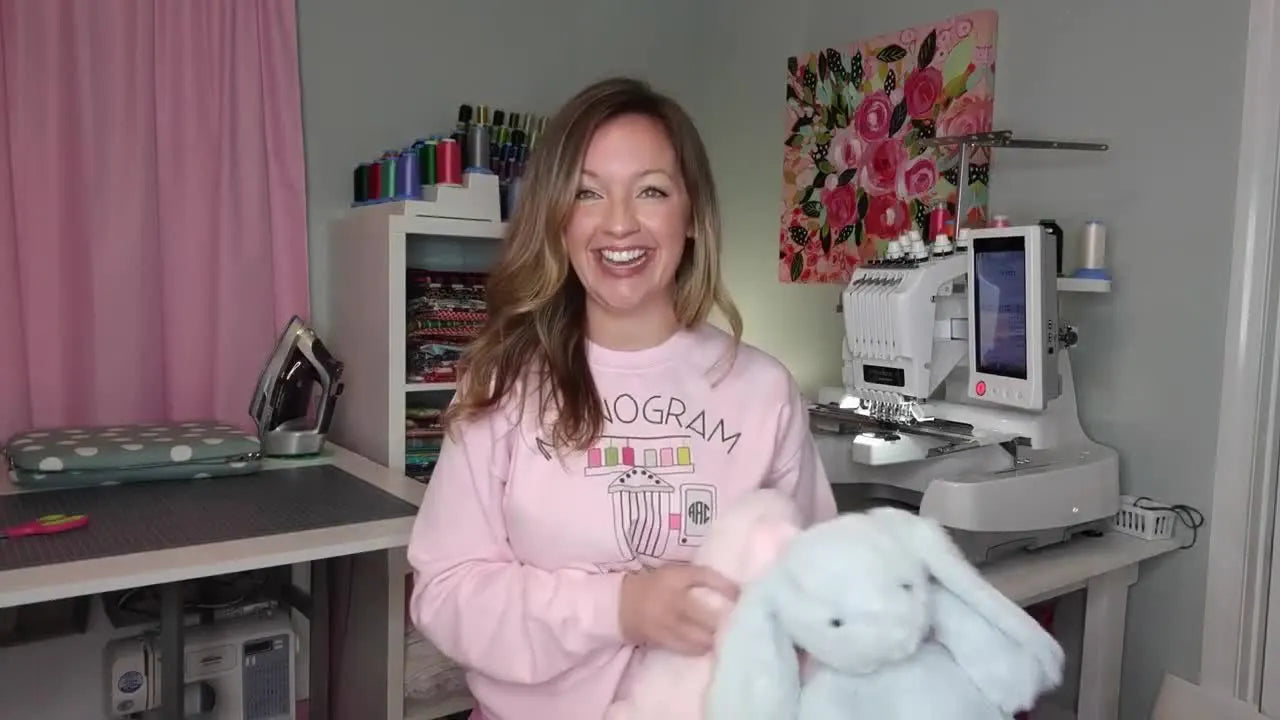
Personalized plush bunnies are a joyful project that combines creativity and practical embroidery techniques. This tutorial from The Monogram Mompreneur demonstrates how to embroider names neatly on bunny ears using a combination of sticky and water-soluble stabilizers. Ideal for both hobbyists and small business owners, it walks through measuring, hooping, stitching, and final touches for a polished finish. The guide also reflects real user feedback and fresh ideas from the YouTube community to help you customize with confidence.
Table of Contents
Choosing Your Bunny & Embroidery Style
Each plush bunny has its quirks—different fur lengths, inner-ear fabrics, and how the ears naturally fall. Ashley encourages evaluating both look and logistics before stitching.

She sourced these bunnies from Hobby Lobby and noted alternatives from Bayou Blanks and AllStitch.com. Viewers echoed that availability changes quickly near Easter, so check local stores or online craft blanks vendors.

Pro Tip
If promoting products, include clear photos and honest notes about whether stitching shows on the ear back. Transparency prevents returns and builds customer trust—vital if you run embroidery sales from a small studio setup that may use fast frames embroidery accessories.
Prepping for Perfection: Measurements & Markings
Measure twice, hoop once. The example bunny ear measured roughly eight inches, leading to a 2-inch font for “Brody” and 1.5-inch for “Emerson.” Use a flexible ruler to determine space, then locate the ear’s natural center.

Mark the line lightly with an air-erasable or washable marker. Align it where the fur lays smooth, avoiding bends at the top edge or seam joins.

Watch out
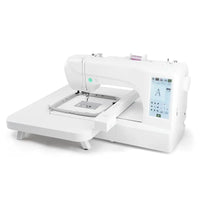
Large fonts can overwhelm small ears. Always preview using your embroidery software or on-machine edit screen. When working with compact hoops like the magnetic hoop for brother pe800, verifying scale prevents mis-stitching.
The Stabilizer Duo: Sticky & Water-Soluble
This method relies on two stabilizers performing different jobs: a sticky base (Sulky Plus) and a water-soluble topper that tames fur.

Hooping with Sticky Stabilizer
Ashley demonstrates mounting Sulky Plus to a Fast Frame, peeling the protective layer, and pressing the ear flat into its center. It’s easier to manage than spray adhesives, which may clump or damage plush.

When you’re outfitting your workspace, compact compatible hoops like mighty hoops for brother pr655 or magnetic hoops for brother embroidery machines can streamline setup compared to taping or pinning.
Securing the Ear
Pins—or even small clips—help ensure no fabric shift. Always position them outside the stitching path to protect your needle. Smoothing fur with gentle pressure or a lint roller flattens plush nap for uniform thread tension.
Layering the Water-Soluble Topper
Two thin sheets work better than one thick piece. They lift easily afterward, leaving crisp letters even on dense minky textures.

If testing with other hoop systems (say a snap hoop monster for brother), ensure top overlap fully covers your design field.
Machine Setup and Stitching Your Design
She stitched using a Brother PR655 with an Itch to Stitch “Sneaker” font. Navy thread contrasted beautifully against the blue bunny. Font size scaled to fit the measured space.

Perform a trace to verify placement, especially where the ear’s curve meets the crease. Tracing prevents the dreaded off-center name.

Once satisfied, start the machine, loosely supporting the bunny’s body to prevent drag while the ear is secured.

Quick check
If experimenting with different machines—like a single-needle PE770 or a multi-needle model—you can adapt this project to compatible brother embroidery machine hoops. The principle of even tension and top flattening remains the same.

The Big Reveal: Finishing Your Embroidered Bunny
After stitching completes, lift the hoop free and carefully remove pins. Gently peel off the top stabilizer in layers, working slowly to avoid pulling up fibers.

Removing the sticky base from the ear’s back can take patience; work in small sections.

Ashley prefers Sulky over OESD for easier teardown—viewers agreed in comments that Sulky sheets separate more cleanly on fuzzy plush.
From the comments
Several viewers asked about using basting spray. Ashley replied that it might tear fur and isn’t her first choice. Others confirmed pins or clips remain safest. Meanwhile, another follower confirmed that hooping with conventional tear-away also produces excellent results if you float the ear and secure it firmly. These practical insights echo across embroidery communities familiar with magnetic embroidery hoops.
Beyond Easter: Marketing Your Personalized Bunnies


What began as a seasonal idea evolved into a year-round keepsake trend. Ashley recommends capturing neutral-background photos without Easter props to repurpose listings as baby or nursery gifts.
A commenter noted success offering similar items on Etsy with diversified tags—like “baby gift” or “first birthday.” It’s smart usage of one technique to expand inventory.
Pro Tip – Small Business Angle
If you run a boutique operation, the quick customization shown here scales well. Systems such as brother magnetic hoop or mighty hoops for embroidery reduce hooping time on repeat orders. Combine them with consistent lighting and branded packaging, and your custom plush line will look cohesive from product photo to shipping box.
Final Thoughts
After both bunny ears—pink and blue—received their names, Ashley emphasized experimentation: try different fonts, check fur direction, and above all, enjoy the craft. Whether gifting or selling, this simple setup reveals how approachable fuzzy-fabric embroidery can be when stabilizers and hooping are handled thoughtfully.
Use these steps as your next embroidery springboard, whether decorating plush toys, blankets, or future keepsakes. Minimal materials, a few clever tools, and a dash of patience are all you need.