Learn to confidently thread your Brother 1034D serger with this clear, visual breakdown. No more guessing which lever to pull or why your loopers keep breaking—just smooth, colorful paths to perfect stitches. This tutorial distills the Sewing Report’s beloved video into a step-by-step reference you can trust each time you rethread.
Table of Contents
Threading a serger can feel like defusing a colorful, stringy puzzle. But once you’ve done it the right way—especially on the trusty Brother 1034D—it becomes muscle memory. This guide distills the Sewing Report’s detailed video into a confidence‑boosting walkthrough you can follow whenever the reels come off or tension goes off‑track.
Introduction to Serger Threading
If the word “serger” makes you picture a nest of tangled threads, you’re not alone. Many sewists dread this task until they learn the simple logic behind the color‑coded system. The Brother 1034D’s four paths—green, blue, pink, and yellow—lead each thread exactly where it belongs.
What you’ll learn
- How to set up and tension four spools correctly
- Step‑by‑step threading for both loopers and needles
- The key order 3‑4‑2‑1 that keeps the stitch balanced
- How to test and troubleshoot your results
- Which tools make threading smoother every time
Think of this as your always‑ready manual—clearer than the factory one and community‑tested by hundreds of thankful sewists.

Initial Setup: Spools, Guides, and Tension Discs
Any good serging session starts at the top. Place each spool on its cone and extend the thread guide. Thread all four lines through the upper metal guide. Setting them together keeps things tidy and avoids crossovers later.

Next, slide each thread between its tension discs. You’ll feel a subtle click when it seats properly. Without that click, there’s no consistent tension. Some crafters in the comments said this “click test” alone fixed half their issues.

If you already use a brother embroidery sewing machine, you might notice that tidiness at the start—arranging spools and guides—is the same small discipline that saves hours later.
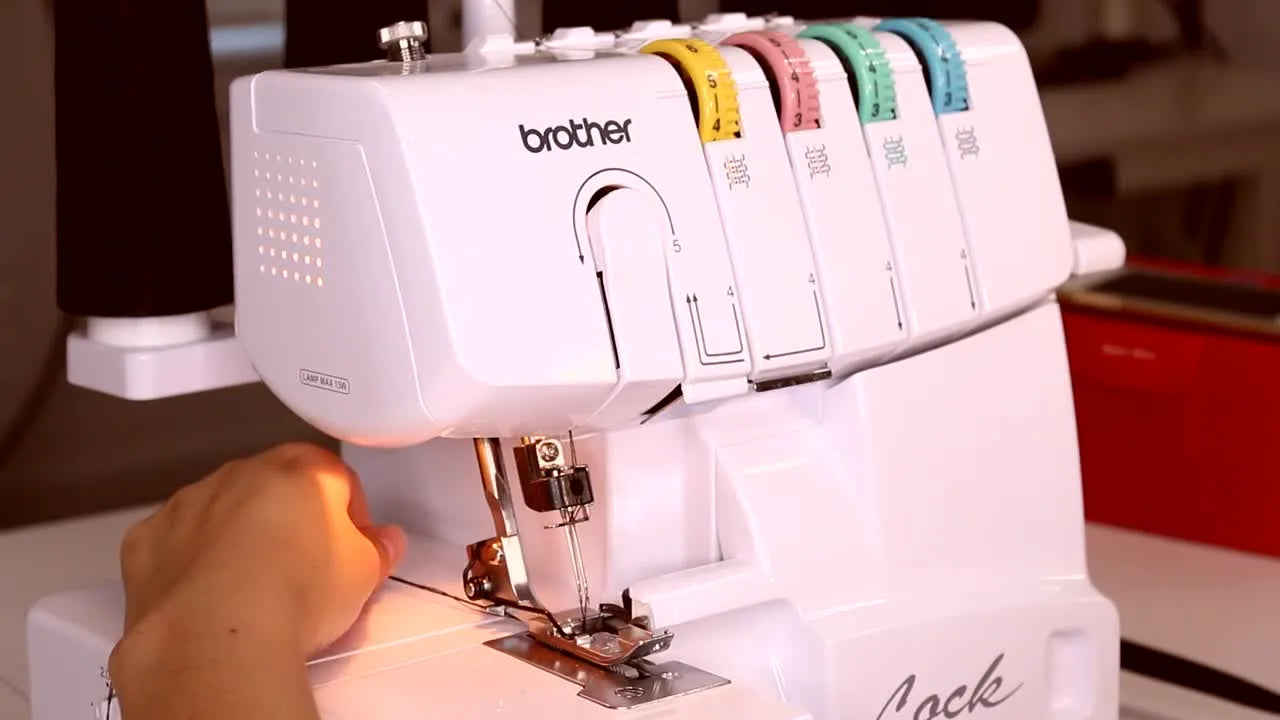
Threading the Loopers: Green (Looper 3) and Blue (Looper 4)
The color coding is your best friend here. Start with the green. Bring the thread down from its disc, following the printed green line through each metal guide. A


Next comes the blue thread, representing Looper 4. Follow the blue markings closely; these paths duck behind certain parts of the machine. Maneuver the handwheel if angles feel impossible—the maker shows this clearly around minute 3.

When you reach the little lever near the lower looper, pull it out, hook in the blue thread, then push the lever back. This motion “catches” the thread in place.


If you often switch between embroidery and serging, organization tools like magnetic hoops for brother embroidery machines offer that same clarity of color‑coding—proof that disciplined setup matters across machines.
Threading the Needles: Pink (Needle 2) and Yellow (Needle 1)
Once your loopers are happy, it’s time for the two needles. The Brother 1034D behaves like a regular machine here.
Bring the pink thread down its marked path, tuck it under the metal bar above the needle, and thread it from front to back. Use a needle threader if you prefer.


Repeat with the yellow thread on the left needle. Keep both threads under the presser foot so they don’t snag when you test.


Sewists in the comments said these visual close‑ups were the turning point—the first time they threaded “on the first try” after years of frustration.
Fans of other Brother gear, from overlockers to brother magnetic hoop‑equipped embroidery units, will appreciate that the design logic across the line feels familiarly intuitive.
Testing Your Threading: Chain Off and Fabric Test
Moment of truth! Close the front cover, lower your presser foot, and lightly press the pedal. You should see a clean chain of stitches form in mid‑air.

If it flows without tangles, place a small piece of knit fabric under the foot and serge forward.


Inspect the seam: the top thread (from the upper looper) should hug the fabric edge; no loose ladders below. The video’s example used a very loose stitch length because it came from a neckband project, showing that the machine adapts well.
From the comments: Many viewers reported breakthroughs here. One wrote that the small reminder “put your thread under the presser foot” finally stopped jams. Another said changing their order from the manual’s “blue first” to the creator’s “green first” solved chronic breakage.
If you ever shift to decorative edge work, consider pairing your serger finishing with detail embroidery hoops such as brother embroidery magnetic hoop for unified precision in mixed‑media projects.
Troubleshooting and Final Tips
Even the best threading can loosen over time. If your lower looper thread breaks, re‑thread it completely rather than knot‑joining mid‑line. Keep the order 3‑4‑2‑1 every time.
Common patterns from the discussion:
- Thread breakout: Usually the looper path skipped a guide.
- Skipped stitches: Check needles seating and presser‑foot position.
- Chain won’t form: One tension dial may not have clicked in.

When testing new threads or fabrics, jot your tension numbers in a notebook. Veteran owners—including the video creator herself—report steady performance even after five years.
If you already sew with embroidery frames like the brother hoop lineup, the precision of those setups mirrors good serger habits: deliberate, in order, and never rushed.
For longer‑term organization, magnet‑backed accessories such as dime magnetic embroidery hoops or mighty hoops for brother help keep your sewing tools secure around your workspace.
Finally, relax. Every thread path on the 1034D was engineered to repeat predictably. With the color‑coded guide, a pair of tweezers, and maybe this article pinned to your wall, your next rethreading will take less than five minutes.
From the Comments
Thousands of sewists have echoed one note: clarity. Beginners, professionals, even long‑timers who’d abandoned their machines found that walking through these color paths gave them back confidence. One commenter summed it up: “Five minutes versus five hours—that’s what understanding the order means.”
If learning this unlocked your creativity, imagine what other gear synergy can do. After all, a good setup—from thread cones to magnetic hoops and lighted workspace—can turn any sewing corner into a mini studio.
You’re ready. Your Brother 1034D is threaded, tested, and humming smoothly. Now go sew those clean knits and perfect edges, confident that you can always bring the threads back together—literally and creatively.