Transform plain garments into statement pieces with expertly applied appliques. This article breaks down BritxBrat2Fashion’s beginner-friendly tutorial on how to adhere decorative sequins to fabric using strong fabric glue — and finish them with optional hand-stitching for lasting durability.
We summarize each stage of the process, offer pro tips from the video, and address viewer questions on washing, fabric compatibility, and glue safety.
Table of Contents
- Introduction: Elevate Your Garments with Appliques
- Essential Tools and Materials
- Step 1: Preparing Your Workspace and Garment
- Step 2: The Art of Cutting Your Appliques
- Step 3: Gluing and Placement for a Perfect Finish
- Step 4: Reinforcing with a Needle and Thread
- The Final Reveal: Admiring Your Custom Creation
- From the Comments: Real-World Questions Answered
Introduction: Elevate Your Garments with Appliques
The tutorial proves that couture-level embellishment doesn’t require industrial equipment—just patience, precision, and the right products. From sequined fabric to sparkle-ready gowns, appliques personalize any piece and make it runway-worthy.

Why Use Adhesives for Appliques?
Gluing saves time and keeps flexible fabrics free from excessive puncture marks. As seen in the video, the creator opts for E6000 Fabri-Fuse—ideal for stretch textiles. If you’re used to embroidery work, you might recognize how steady hands matter, especially if you regularly handle magnetic hoops for brother embroidery machines that hold your fabric in place evenly.
What You'll Learn in This Tutorial
This project showcases how to transform store-bought mesh designs into durable, custom ornaments. The results rival those achieved using magnetic embroidery hoop techniques yet with simpler tools.
Essential Tools and Materials
Every solid project begins with the right gear. Here you’ll need scissors, pins, a sewing needle, thread, sequined fabric, and of course your chosen adhesive.
Choosing the Right Appliques
Select appliques whose base mesh blends smoothly with your fabric—this makes the glue less visible once dry. Intricate leaf and floral motifs add natural rhythm.

Our Top Fabric Glue Recommendations (E6000 vs. Aleene’s)
E6000 Fabri-Fuse takes the spotlight thanks to its secure hold and flexibility. Aleene’s products also performed well on medium-weight fabrics. Users noted E6000 dries clear and remains elastic, which is essential if your garment must move fluidly.

Experienced embroiderers who’ve worked with balanced hoop tension—think mighty hoops for brother pr680w—will appreciate the control this glue offers during placement.
Gathering Your Sewing Supplies
The optional hand-sewing phase requires a small needle, doubled thread, and steady lighting. Thread color can match the applique or the base fabric depending on whether you prefer invisible seams or accent stitching.

Step 1: Preparing Your Workspace and Garment
The Importance of Protecting Your Dress Form
Before applying glue, the artist wraps a plain trash bag around the mannequin to create a protective barrier. Inked bags are avoided to prevent transfer marks.

How to Create a Protective Barrier
Smooth the bag tightly, tape it if necessary, then position your garment snugly atop. This provides a clean, tensioned surface that mimics how the clothing will sit when worn.

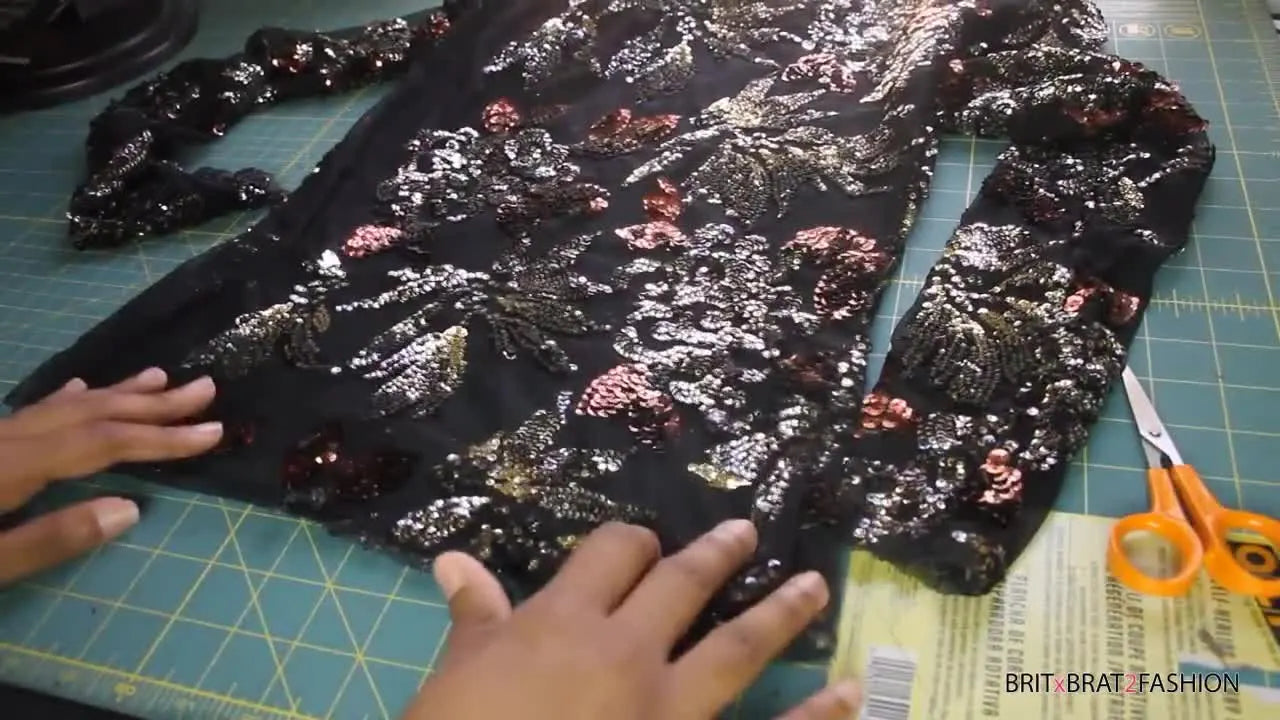
Step 2: The Art of Cutting Your Appliques
Cutting is equal parts artistry and patience. With sharp detail scissors, trim around each motif, leaving a fraction of the mesh intact.

Techniques for a Clean Cut
Avoid large shears that could snag sequins. Using embroidery-style tools similar in precision to magnetic hoops for bernina embroidery machines setups gives you maximum control when rotating corners.
Why Leaving a Margin Matters
That mesh edge guards against unraveling and leaves room for hand stitching later. It’s a detail even professionals swear by.

Step 3: Gluing and Placement for a Perfect Finish
Planning Your Design Layout
Arrange appliques before gluing for balance and flow. Pin each piece roughly where it will stay.

Tips for Applying Glue Without the Mess
A modest, even coat of E6000 goes a long way. Too much causes seepage, not strength.

If you’re used to setting embroidery patches inside hoopmaster embroidery hooping station frames, you already understand precise alignment—apply the same mindset here.
Pressing Appliques for a Strong Bond
Smooth the applique onto fabric using your knuckles rather than fingertips to avoid glue smears.

Light, even pressure mimics the steadiness of mighty hoops for janome mb4 that hold material taut around edges.
Step 4: Reinforcing with a Needle and Thread
Why Hand-Sewing is Worth the Effort
While the adhesive alone may suffice, a ring of tiny stitches adds invisible armor around each motif.

A Simple Stitching Technique for Secure Edges
Double the thread, tie a small knot, and weave in a steady rhythm through the applique’s border.

The result is texture that rivals designs made with tajima embroidery machine hoops for uniform security.

The Final Reveal: Admiring Your Custom Creation
Once the glue dries clear, peel the garment carefully away from the plastic covering.

Drying, Curing, and Final Checks
Check that the glue is transparent and non-tacky before wearing or washing. Gently stretch the fabric; if edges stay firm, you’ve achieved perfect adhesion.

Caring for Your Embellished Garment
Washing gentle or opting for dry cleaning preserves the sheen. Think of this garment like a delicate embroidered piece created in magnetic hoops for bai embroidery machine—a soft touch during cleaning ensures years of sparkle.

From the Comments: Real-World Questions Answered
Viewers of BritxBrat2Fashion’s tutorial offered generous feedback and insightful questions:
Working on Organza: Adhesive works, but test on a scrap for transparency and stiffness. Drying on Plastic: Always let the glue dry before removing from the form to avoid sticking. Washability: The creator confirmed permanence; dry cleaning recommended for gowns. Heat n Bond Alternatives: Fine on cotton, less effective on stretch mesh. * Glue Safety: Use fresh E6000 from verified retailers; some users find odor mild, others stronger.
Final Thoughts: Mastering applique adhesion blends creativity with technique. With patience and these step-by-step cues, your next DIY project will shine—no industrial machine needed, though knowing your way around mighty hoops for brother pr1055x will certainly keep you thinking like a pro embroiderer.