Follow this in-depth walkthrough inspired by Burley Sew’s tutorial on getting the Brother PE-770 embroidery machine from box to beautiful stitching. This guide distills each step — from removing tape to your first embroidery — with pro tips and beginner-friendly insights gathered from the creator’s community comments.
Table of Contents
- Unboxing Your New Brother PE-770
- Essential Pre-Embroidery Checks
- Loading Your Designs: USB and Media Options
- Mastering Threading: Top and Bobbin
- Hooping Like a Pro: Fabric and Stabilizer
- Your First Embroidery Project: From Start to Finish
- Initial Impressions and Tips for Success
- From the Comments: Real User Questions Answered
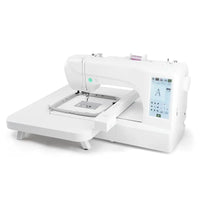
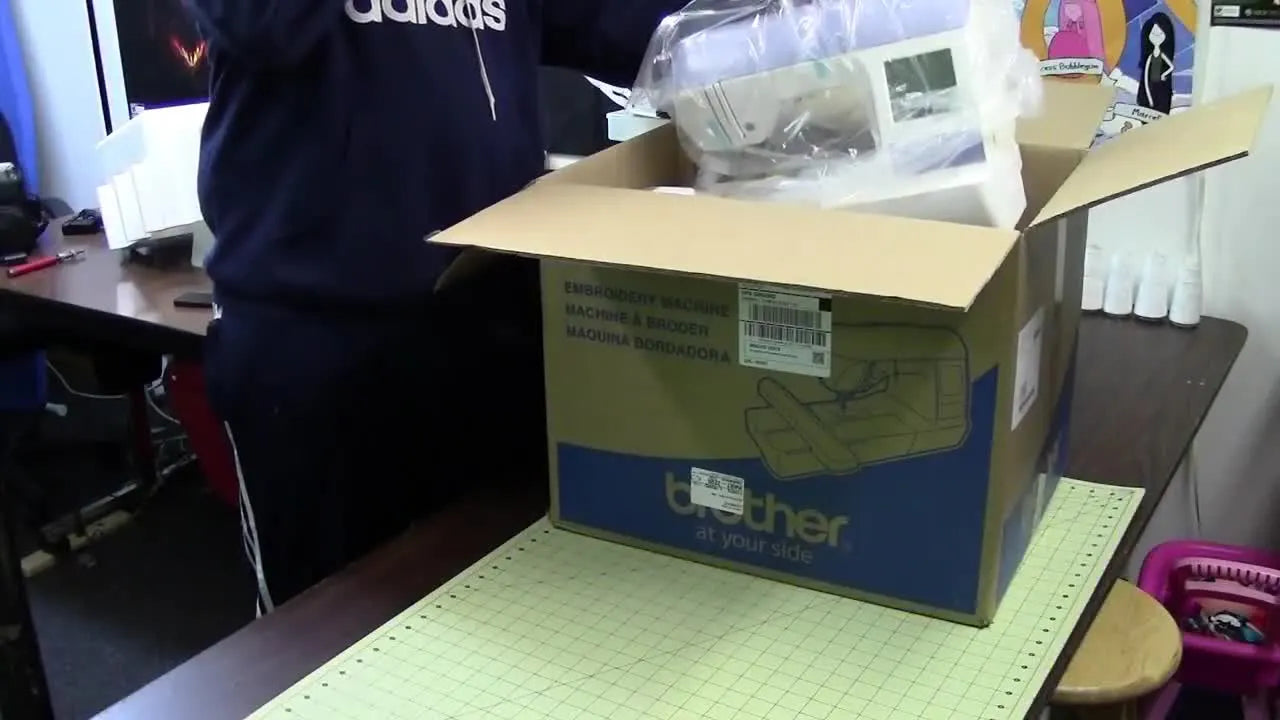
Unboxing Your New Brother PE-770

You’ll start by lifting the shiny new machine out of its foam nest. Remove protective film and all tapes that guard moving parts. Burley Sew reminds viewers that extra-thin blue strips can hide near the bobbin housing — double-check before powering on.


The host even includes his own minor confusion about stray tape near the bobbin housing — a helpful reminder that setup quirks happen. Detaching the embroidery carriage briefly can reveal where each tape leads.

Essential Pre-Embroidery Checks
Bobbin Case Alignment: A Key Step
Checking alignment ensures smooth operation. Remove the bobbin plate and line up the white triangle on the case with the white dot beneath.

Reattach gently once satisfied.
Powering Up and Initial Machine Self-Checks
Plug in the power cable and flick the switch; you’ll spot the Brother logo appear on screen.

If a carriage-movement warning pops up, clear the surrounding area first. Those initial motor sounds are simply the machine aligning itself.
Loading Your Designs: USB and Media Options
Once powered, slide your USB flash drive into the side port.

The PE-770 reads most standard file formats; older units may need firmware updates for USB recognition, as noted in the video.

On the touchscreen, scroll through familiar floral motifs and specialty icons.

Selecting your first cat design takes only a few taps. This simple interaction exemplifies why the brother embroidery machine series stays a beginner favorite.
Mastering Threading: Top and Bobbin
The Simplified Top Threading Process
Threading can intimidate at first glance, but following the numbered guide printed on the machine makes it nearly foolproof. Place the spool, secure the smallest cover, and glide the thread through each marked slot.

When reaching step seven, engage the automatic needle threader — the demonstration shows how fast it snaps thread through without strain.

Quick Bobbin Setup
Drop the bobbin into its case, unwind counter-clockwise, and feed along the plate’s arrows before snipping.

The clear plate lets you visually confirm the correct path.
If you ever face nesting under the plate, as some viewers described, check both top and bobbin tensions and rethread completely before resuming stitching.
Hooping Like a Pro: Fabric and Stabilizer

Stretching fabric properly within the 5×7 hoop avoids puckers — the video shows broadcloth layered over medium tear-away stabilizer spritzed with adhesive. Whether you use classic rings or upgraded accessories like magnetic hoop for brother pe770, maintaining even tension is key.
These accessories fit the PE-770’s frame size perfectly and are also cross-compatible with other magnetic hoops for brother embroidery machines when you eventually upgrade.
Your First Embroidery Project: From Start to Finish
Attach the hooped fabric to the carriage rails, lower the presser foot, and press that green start button.

The machine begins stitching automatically, pausing only once for trimming excess thread — the host resumes confidently, letting the cat design form.
As thread changes appear in your pattern, you manually switch colors. Viewers wondered if the PE-770 stops automatically — it does pause at each color break so you can rethread. The action is similar to larger studio units like the brother vr.
From the comments: One user discovered their machine had been breaking thread because trapped lint hid under the bobbin case; removing and inspecting that area solved everything.
Initial Impressions and Tips for Success

The finished result — a crisp black-and-white cat — earns Burley Sew’s thumbs-up.

Stitching lines appear uniform, a testament to correct alignment earlier on. Viewers agree: this straightforward walkthrough helps demystify a machine that once seemed daunting.
If you’re planning more personalized work, consider experimenting with digitized logos using software compatible with brother embroidery machine magnetic hoop frames. Beginners eager to expand hoops sizes may also explore compatible accessories noted as brother embroidery hoops or even advanced 5×7 options like brother magnetic hoop 5x7.
Compared to compact siblings such as the SE400, the PE-770’s spacious field makes it ideal for learning larger motifs without adding complexity.
From the Comments: Real User Questions Answered
- Needle threader malfunction — Sometimes alignment or bent wire causes failure; users commonly fix this after re-engaging the lever gently with power off.
- Thread nesting in bobbin area — Clean lint buildup and confirm bobbin direction (counter-clockwise) before reseating.
- Functionality confusion — The PE-770 is embroidery-only; stitching lines and designs are its focus, not garment seams.
- Color changes — The machine pauses automatically; you replace thread manually for each color layer.
Community insight: Several new owners expressed gratitude for Burley Sew’s calm approach — proving that confidence grows with each hoop you set. Some even revived second-hand machines after years in storage thanks to this visual reminder of setup order.
Wrap-Up
Burley Sew’s approachable tutorial proves that your first embroidery doesn’t have to be stressful. With each prepared hoop and neatly threaded needle, you’ll soon progress from nervous beginner to confidently experimenting with new stabilizers and frames. Pair this setup know-how with your own creativity — and your PE-770 will reward you with stitch-perfect projects every time.