This beginner-friendly tutorial breaks down every step of making a plush rabbit—from printing and taping your pattern pieces, to sewing, stuffing, and refining the details. You'll learn essential faux fur cutting and finishing techniques, making this an easy yet rewarding first plushie project.
Table of Contents
- Gather Your Materials and Tools for Success
- Step 1: Printing and Assembling Your Rabbit Pattern
- Step 2: Cutting Your Fabric Like a Pro
- Step 3: Sewing Your Rabbit Together
- Step 4: Bringing Your Plushie to Life
- Step 5: The Magic of the Invisible Ladder Stitch
- Step 6: Adding Character with Thread Sculpting
- From the Comments: Common Questions Answered
Gather Your Materials and Tools for Success
Before your first stitch, prepare a clean workspace and collect your materials: card stock paper for sturdy patterns, painter’s tape, faux fur fabric, thread, needle, and poly-fil. Keep scissors sharp and dedicate a space for your sewing machine. The pattern mentioned in the video is available through the creator’s Patreon.
Quality faux fur plays a huge role in how your plushie turns out. Commenters often ask where to find good material; the consensus is to pick thick, low-shed varieties from reputable fabric stores.

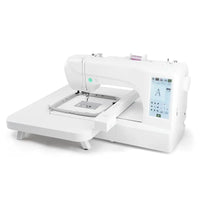
A helpful gear upgrade—if you plan to embroider a custom tag on your rabbit—could be using magnetic hoops like magnetic hoops for brother embroidery machines, which keep fabric secure without pinning. It’s optional but handy for decorative touches.

Step 1: Printing and Assembling Your Rabbit Pattern
Start by printing the pattern onto card stock and make sure your printer’s paper size matches the pattern’s intended dimensions. Align the page edges using the numbered guides, trim one margin, and tape pages front and back for strength.

If you’re tracing smaller patterns on different makers’ sheets, embroidery accessories like baby lock magnetic hoop can hold test swatches firmly in place during pattern transfer.

Step 2: Cutting Your Fabric Like a Pro
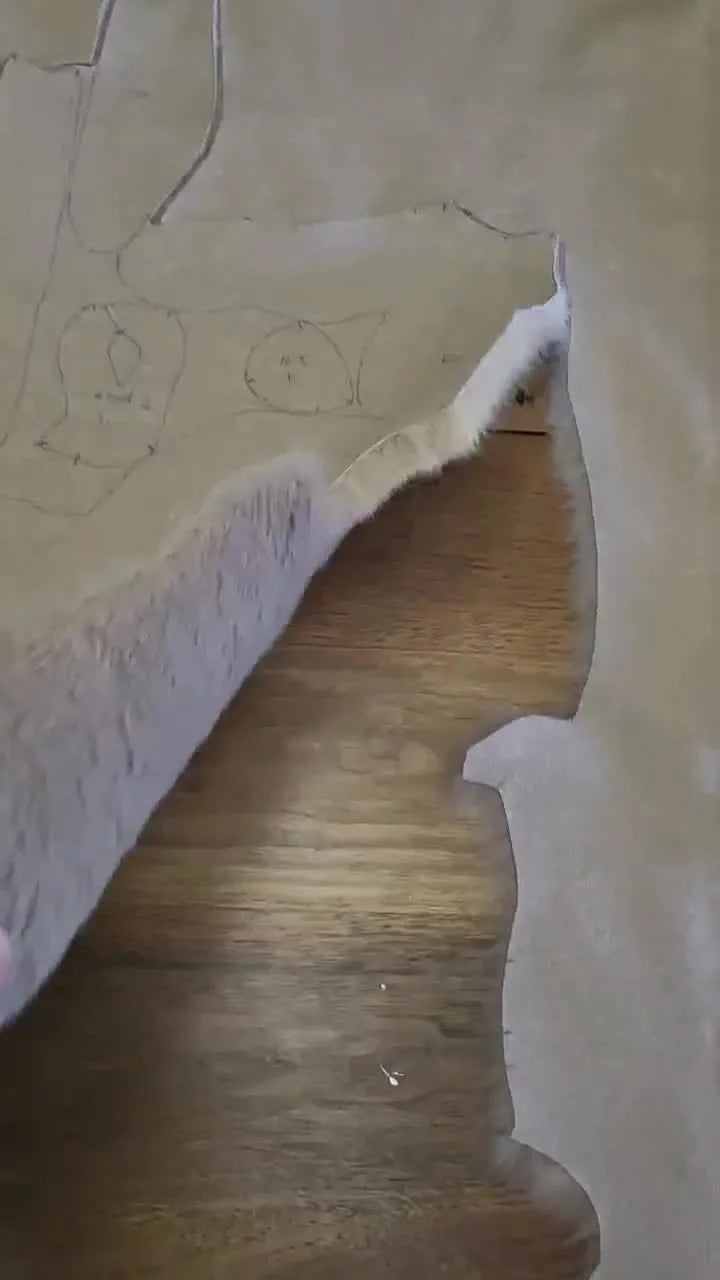
Faux fur cutting requires precision. Determine which way the fur naturally lies—the nap—and orient each pattern piece accordingly so your finished rabbit looks consistent and plush. Trace around the paper templates and mark alignment lines as shown.

Use sharp scissors to cut only through the backing, not the fur pile, keeping your seams neat. Avoid power cutters or lasers; as one viewer noted, excessive heat can melt synthetic fibers.
When experimenting with smaller components, some embroiderers secure their fabric using magnetic embroidery hoops for bernina for stability while detailing miniature features or optional patches.
Step 3: Sewing Your Rabbit Together
With fabric pieces ready, clip them right sides together. Sewing clips are far easier than pins on dense fur and prevent pricked fingers.

Stitch along the traced seam lines, following the standard 1/4‑inch allowance. For tight corners, the creator sometimes narrows to 1/8‑inch for smoother curves—great advice for plush projects.
A viewer asked if the plush can be hand‑sewn: absolutely. The creator even offers a 14‑inch pattern ideal for this. Whether by hand or machine, slow and steady is the name of the game.

To maintain steady tension on heavy fur layers, a supportive hoop attachment such as mighty hoops for babylock can assist when combining embroidery embellishment or face details on separate panels before final assembly.

Step 4: Bringing Your Plushie to Life
Turn the sewn body right‑side out using a blunt stick to push corners outward. If adding safety eyes, install them now while the plush is still inside‑out, securing washers tightly before flipping.

Stuff gradually—beginning with the ears and limbs—to avoid lumps. Add weighted pellets in the paws for that satisfying floppy feel. Over‑stuffing can stiffen your bunny; under‑stuffing leaves it saggy.
For makers interested in attaching decorative embroidery accents to paws or bellies, consider small‑field hoops like brother se700 hoop size when using compact home embroidery units.

Step 5: The Magic of the Invisible Ladder Stitch
This classic closure method hides the final seam entirely. Thread your needle and begin from inside the opening so the knot stays concealed. Stitch horizontally between the folded edges—like climbing a ladder—then pull tight. The seam vanishes instantly.

Keep your stitches short and even for a professional look. If tangling occurs, release the tension gently before continuing.
For those experimenting with embroidered nose patches, firm hooping such as dime snap hoop bernina may help support dense stitch areas while keeping pressure even on plush fabrics.
Step 6: Adding Character with Thread Sculpting
This final flourish brings your plush to life. Pass a long needle under the chin and out one eye corner, across to the other eye, then back down. Pull gently to recess the eyes and define the muzzle.

Repeat on each paw to create toe divots by looping thread and tightening. It’s a subtle detail that adds realism and personality.

One commenter, working on a cat plush, shared that watching this thread‑sculpting demo finally helped her conquer tricky facial shaping—proof that small techniques can make big breakthroughs.
An embroidery enthusiast might replicate similar shaping lines using controlled stitches held securely in a magnetic hoop for brother pe800 for decorative facial embroidery before assembly.
From the Comments: Common Questions Answered
Where do I get good faux fur? Try specialized fabric stores or online suppliers that list fur weight and backing type. Non‑shedding varieties give smoother seams.
Can I hand‑sew this project? Yes! Use a backstitch for strength. The creator’s smaller pattern works well for this approach.
How much will it cost? Roughly the price of your chosen fabrics—premium faux fur may run around $27 per yard, but budgeting by half yards makes it manageable.
Can I laser‑cut the pattern? Not recommended; heat can damage synthetic fibers.
Do I need an embroidery machine? Not for this project—but if you have one, something like brother embroidery sewing machine can streamline tags or face details.

Congratulations—you’ve just learned every step from printed pattern to fully sculpted plush rabbit. This approachable journey proves that anyone can create something lovable from scratch. Share your new bunny online with fellow makers—you’ll be amazed at how quickly sewing confidence grows one stitch at a time.